23 juli 2013

GD Karen again!


Hi!
Today we have another project from Karen, she was showing us her projects in April last time.
I love this cute photo she used and admire fantastic work with this page!

Karen, thank you so much!!!
See you....next month!


Inkido Materials Used:

Beautiful Memories

BM Butterflies Blue
BM Beige Anemon
BM Beautiful Butterflies
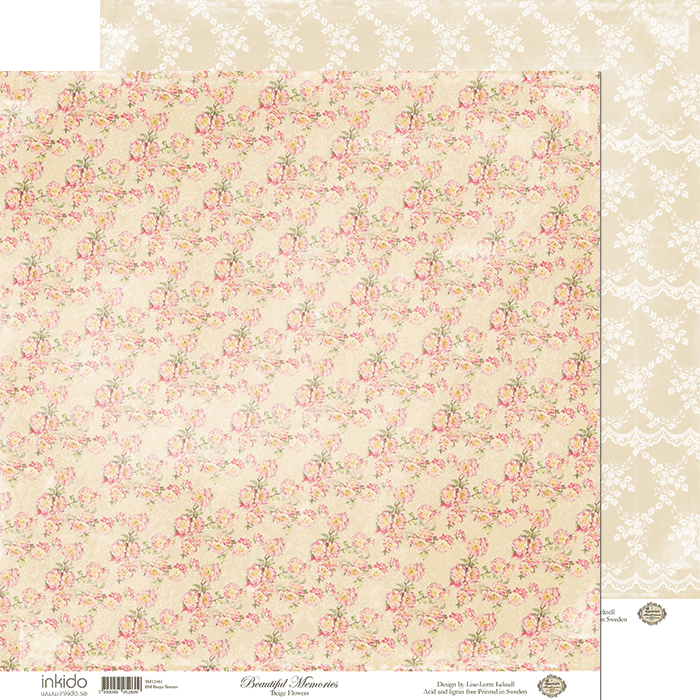
BM Beige Flowers

Inkido Stamps Used:

Sommar Collage - K
Jfail Ster - H Butterfly
France 1

22 juli 2013

Baby Card and a tutorial!

Hei alle sammen.. Yasmin på bloggen i dag. Sommerferien er vel i full gang hos de fleste. Jeg har kommet tilbake fra en av mine turer denne sommeren og hadde lyst til å dele en tutorial på et brettekort jeg lagde til min forrige post.

Hello Everyone! Yasmin on the blog today. Summer vacation has started all over and I've just come back from one of my trips this summer and wanted to share with you a tutorial of the folding tecnique of the card I made in my last post. 
La oss sette i gang med tutorialen! :) 

Let's get cracking with the tutorial. :)


Jeg starter med et mønsterark fra Inkido selvfølgelig. Det er viktig å velge et dobbeltsidig ark. Størrelsen kan man velge selv, men det er nødt til å være firkantet. Her kan man variere med å lage både store og små kort. 

I start with patterend paper from Inkido of course! It's important to choose dobbelsided paper. You can choose the size you prefer, but it has to be a square. You can variy between large and small cards. 

Brett kortet to mot diagnoalen. 

Fold the card in half  on the diagonal. 


Brett hjørnene av arket inn slik at du får en rett linje øverst på kortet. For å få dette rett bruker jeg å brette inn begge hjørnene samtidig og bruke en bonefolder for å få rette og fine brettekanter. 

Fold the corners to the middle of the paper like the pictures show. To get a straight line on the top I usally tend to fold both corners at once and use a bonefolder to get neat and nice egdes. 

Når kantene er brettet inn vil kortet se omtrent slik ut. 

When the egdes is folded you get this shape on the card. 

Brett ned den øverste delen over og lim alt sammen. Du vil da få en lomme man kan putte små ting nedi. 

Fold down the top piece and glue everything down. You will then get a pocket to put some items in. 

Med samme brette måte lagde jeg dette babykortet til noen venner som nettopp har fått seg baby. Super enkelt og lage, dekorativt ikke minst! :) 

With the same tecnique I've made this babycard to some friends  that just got a baby girl. It's super easy to make and decorate. 

Jeg bruker å lage et lite kort som jeg putter inni som jeg skriver det jeg trenger å skrive inni. Man er ikke nødt til å dekorere den siden, da papirene er så dekorative i seg selv. 

I use to make a small card i use as an insert where I write the things I need to write. You don't need to decorate the front page when the papers are so decorative just by themselves. 

Jeg håper at du får brukt min lille tutorial. Ha en fantastisk kreativ dag! :) 

Hope you enjoyed my small tutorial. Have a fantastic creative day! 

21 juli 2013

Cream Cards

Hi there! I was extra happy while playing with Inkido's cream papers... I simply  love the sweet look of the floral papers. 


Thanks for looking. Have a beautiful Sunday :)


Inkido supplies used :


20 juli 2013

Yellow and blue my love by Petraso


Hello Friends!

I don´t miss our challange for the july?
On the right side of the blog you can see the challange and the particients!

Welcome !

I have done a card for some inspiration for you!

Have a great day!

Petraso

19 juli 2013

A Layout & Tag - with Kelly


 Hi everyone!! Kelly here. I have a little inspiration to share based on our July "Blue and Yellow" challenge. I hope you will play along, too..there are 3 prize packs to be won this month!!!

"Exploration"

 I was of course, inspired by the blue and yellow colors and the flowers in the challenge photo. I used Beautiful Memories II for this layout..starting with a white cardstock base which I stamped with my favorite Inkido stamp, did some masking and a bit of watercolor painting.


Below, flowers of course, and leaves. The large tan leaves are Inkido, and the smaller ones I hand cut from the Inkido Harmony Flowers packaging! So easy, and so cute!


Below..one of the stunning Harmony Flowers, I just love it!

Up next, a pretty little tag I created.
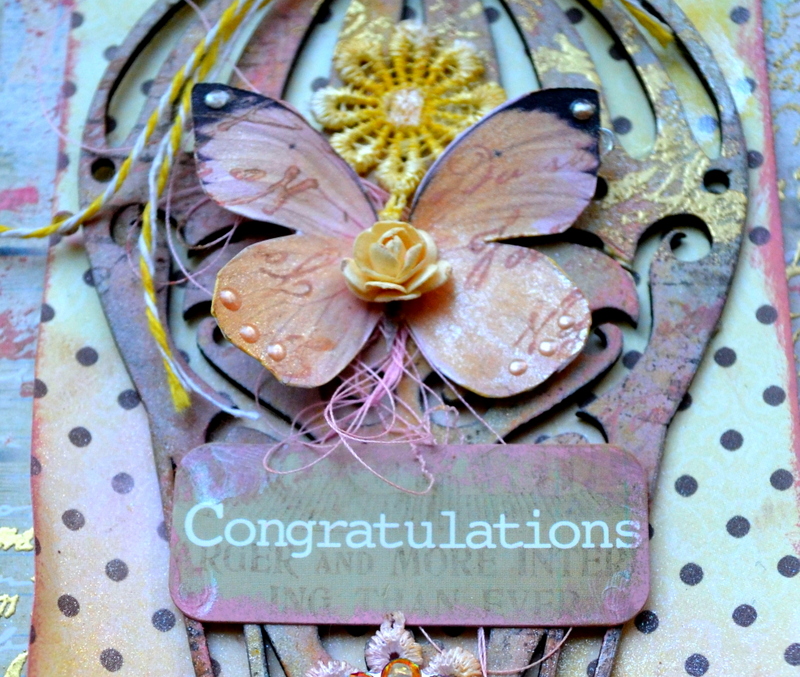
I created the background of this tag using some old product packaging, which I then stamped and embossed in gold with my favorite Inkido stamp. I then also stamped with pink. I repeated this process on my chipboard hot air balloon. Here is what the stamp looks like:

Collage stamp: I denna ljuva (5) 

I delicately embellished with fussy cut butterflies, lace, Tiffany Jewels, and stick pins. This would make a perfect wedding card/tag.
Below you can see I also did some light stamping on the large butterfly, along with a touch of liquid pearls and a small yellow rose.


Thank you for having a look!! I do hope to see you take part in our challenge this month, there is still lots of time!

Some of the Inkido/PaperCraft Scandinavia products used:


18 juli 2013

Blooming Tag and lot´s of Butterflies!

Hallå där! Torsdag igen och min tur att blogga! Idag har jag två olika alster att visa er. En Tag och en Layout, Layouten har jag skapat till en skiss utmaning.

Hi! It´s Thursday again and my turn in the Inkido Blog! I have two projects to show you. One Tag and one Layout that I created for a sketch challenge.


Jag gillar verkligen att göra Tags! det perfekta projektet om man har mycket pappersspill. På den här Tagen använde jag två olika storlekar. Var noga med att täcka alla baksidor så det ser fint ut från alla håll. I augusti tänkte jag visa en enkel med rolig teknik du kan göra på Tags. Så håll utkik!

I really like to create Tags! It´s the perfect thing to do if you have a lot of paper scraps. Here I did a layered Tag with two tags in two different sizes. Make sure to cover the back of all pieces so it´s look nice from there also. In August I will show you some easy but fun techniques you can do with Tags. So look out for that!

Nästa alster är en layout som jag skapat för Sketchabilities. Åhhh vad jag gillar den här färgkombinationen!

My next project is a page I did for Sketchabilities. I just love this calm color combination!

Kolla vilken cool unge jag har!

Look how cool my kid looks!

Att sitta och figurklippa är lite som terapi! Jag kan sitta och klippa ut fjärilar hur länge som helst. De här kommer från Beutiful Memories I.

It´s like therapy to fussy cut! I can sit and cut out Butterflies forewer! This ones are from Beutiful Memories I.
Många kramar från Ulrika aka LillBlomman!

For my projects I used following supplies from Inkido: